Embedded Programming


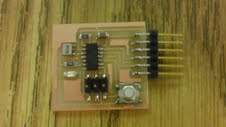


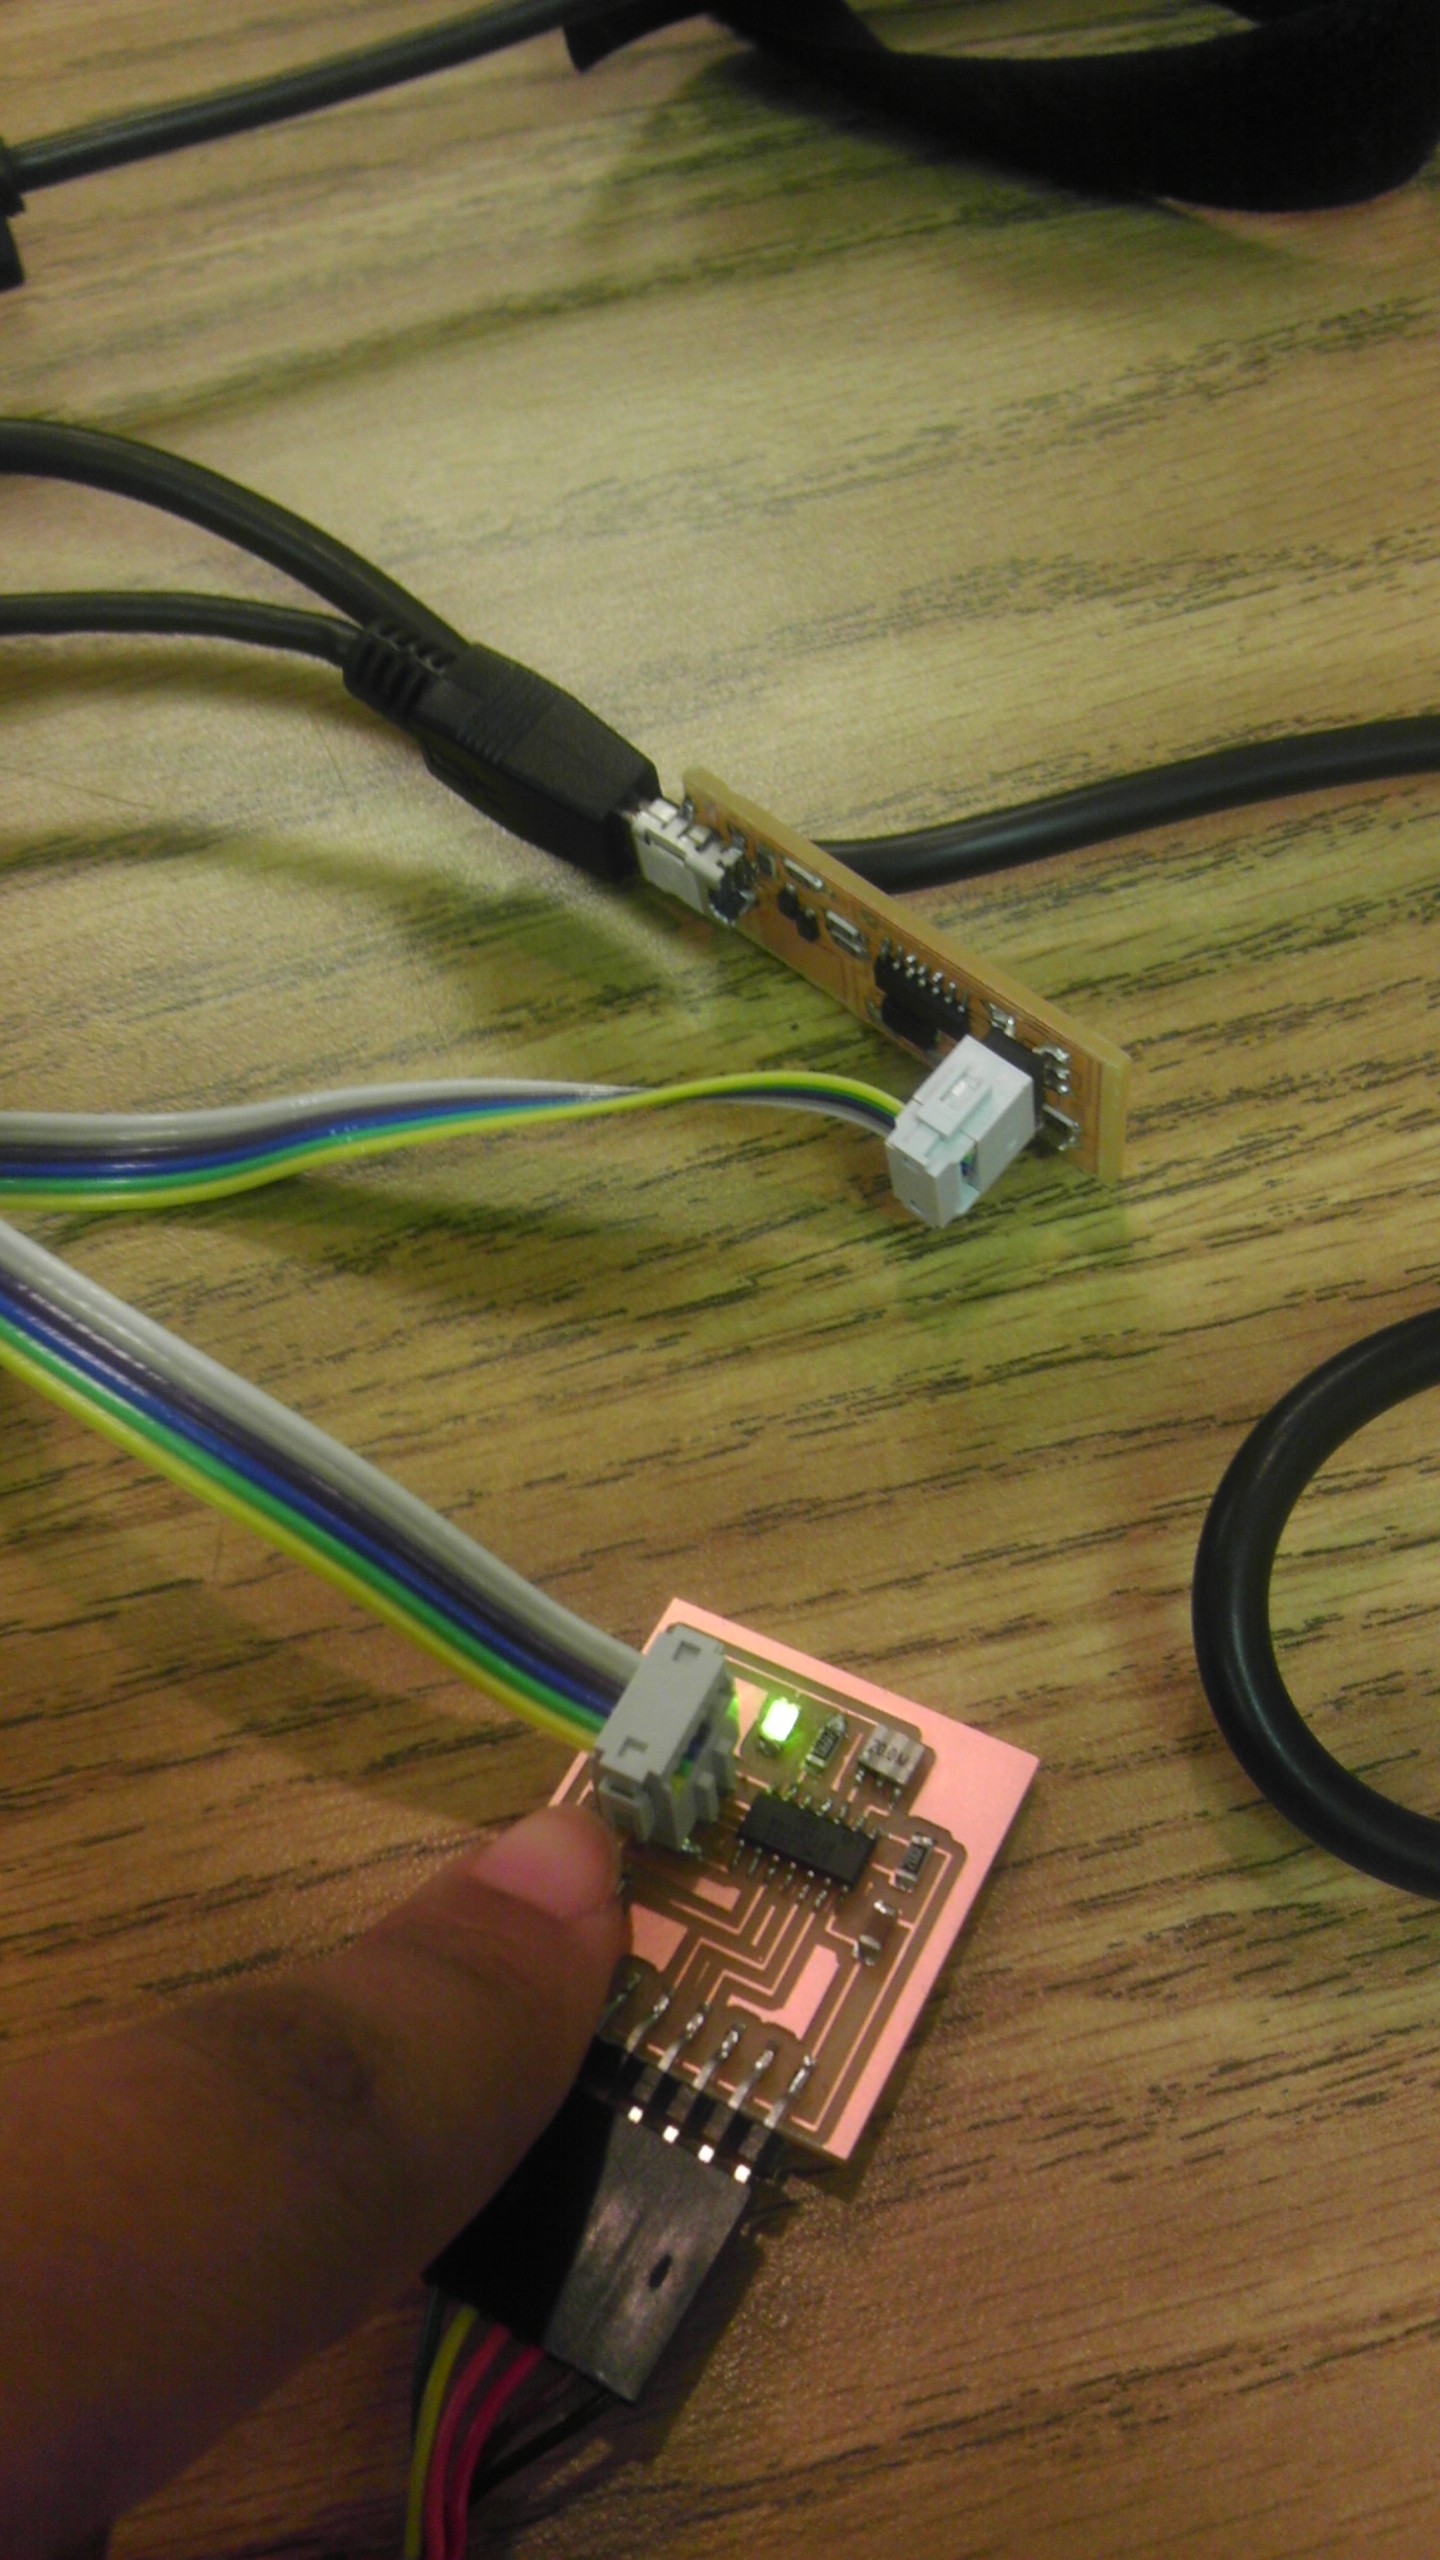
Below is an image of the FabISP and Hello-Echo Boards we assembled in previous assignments being connected by a FabIDC.

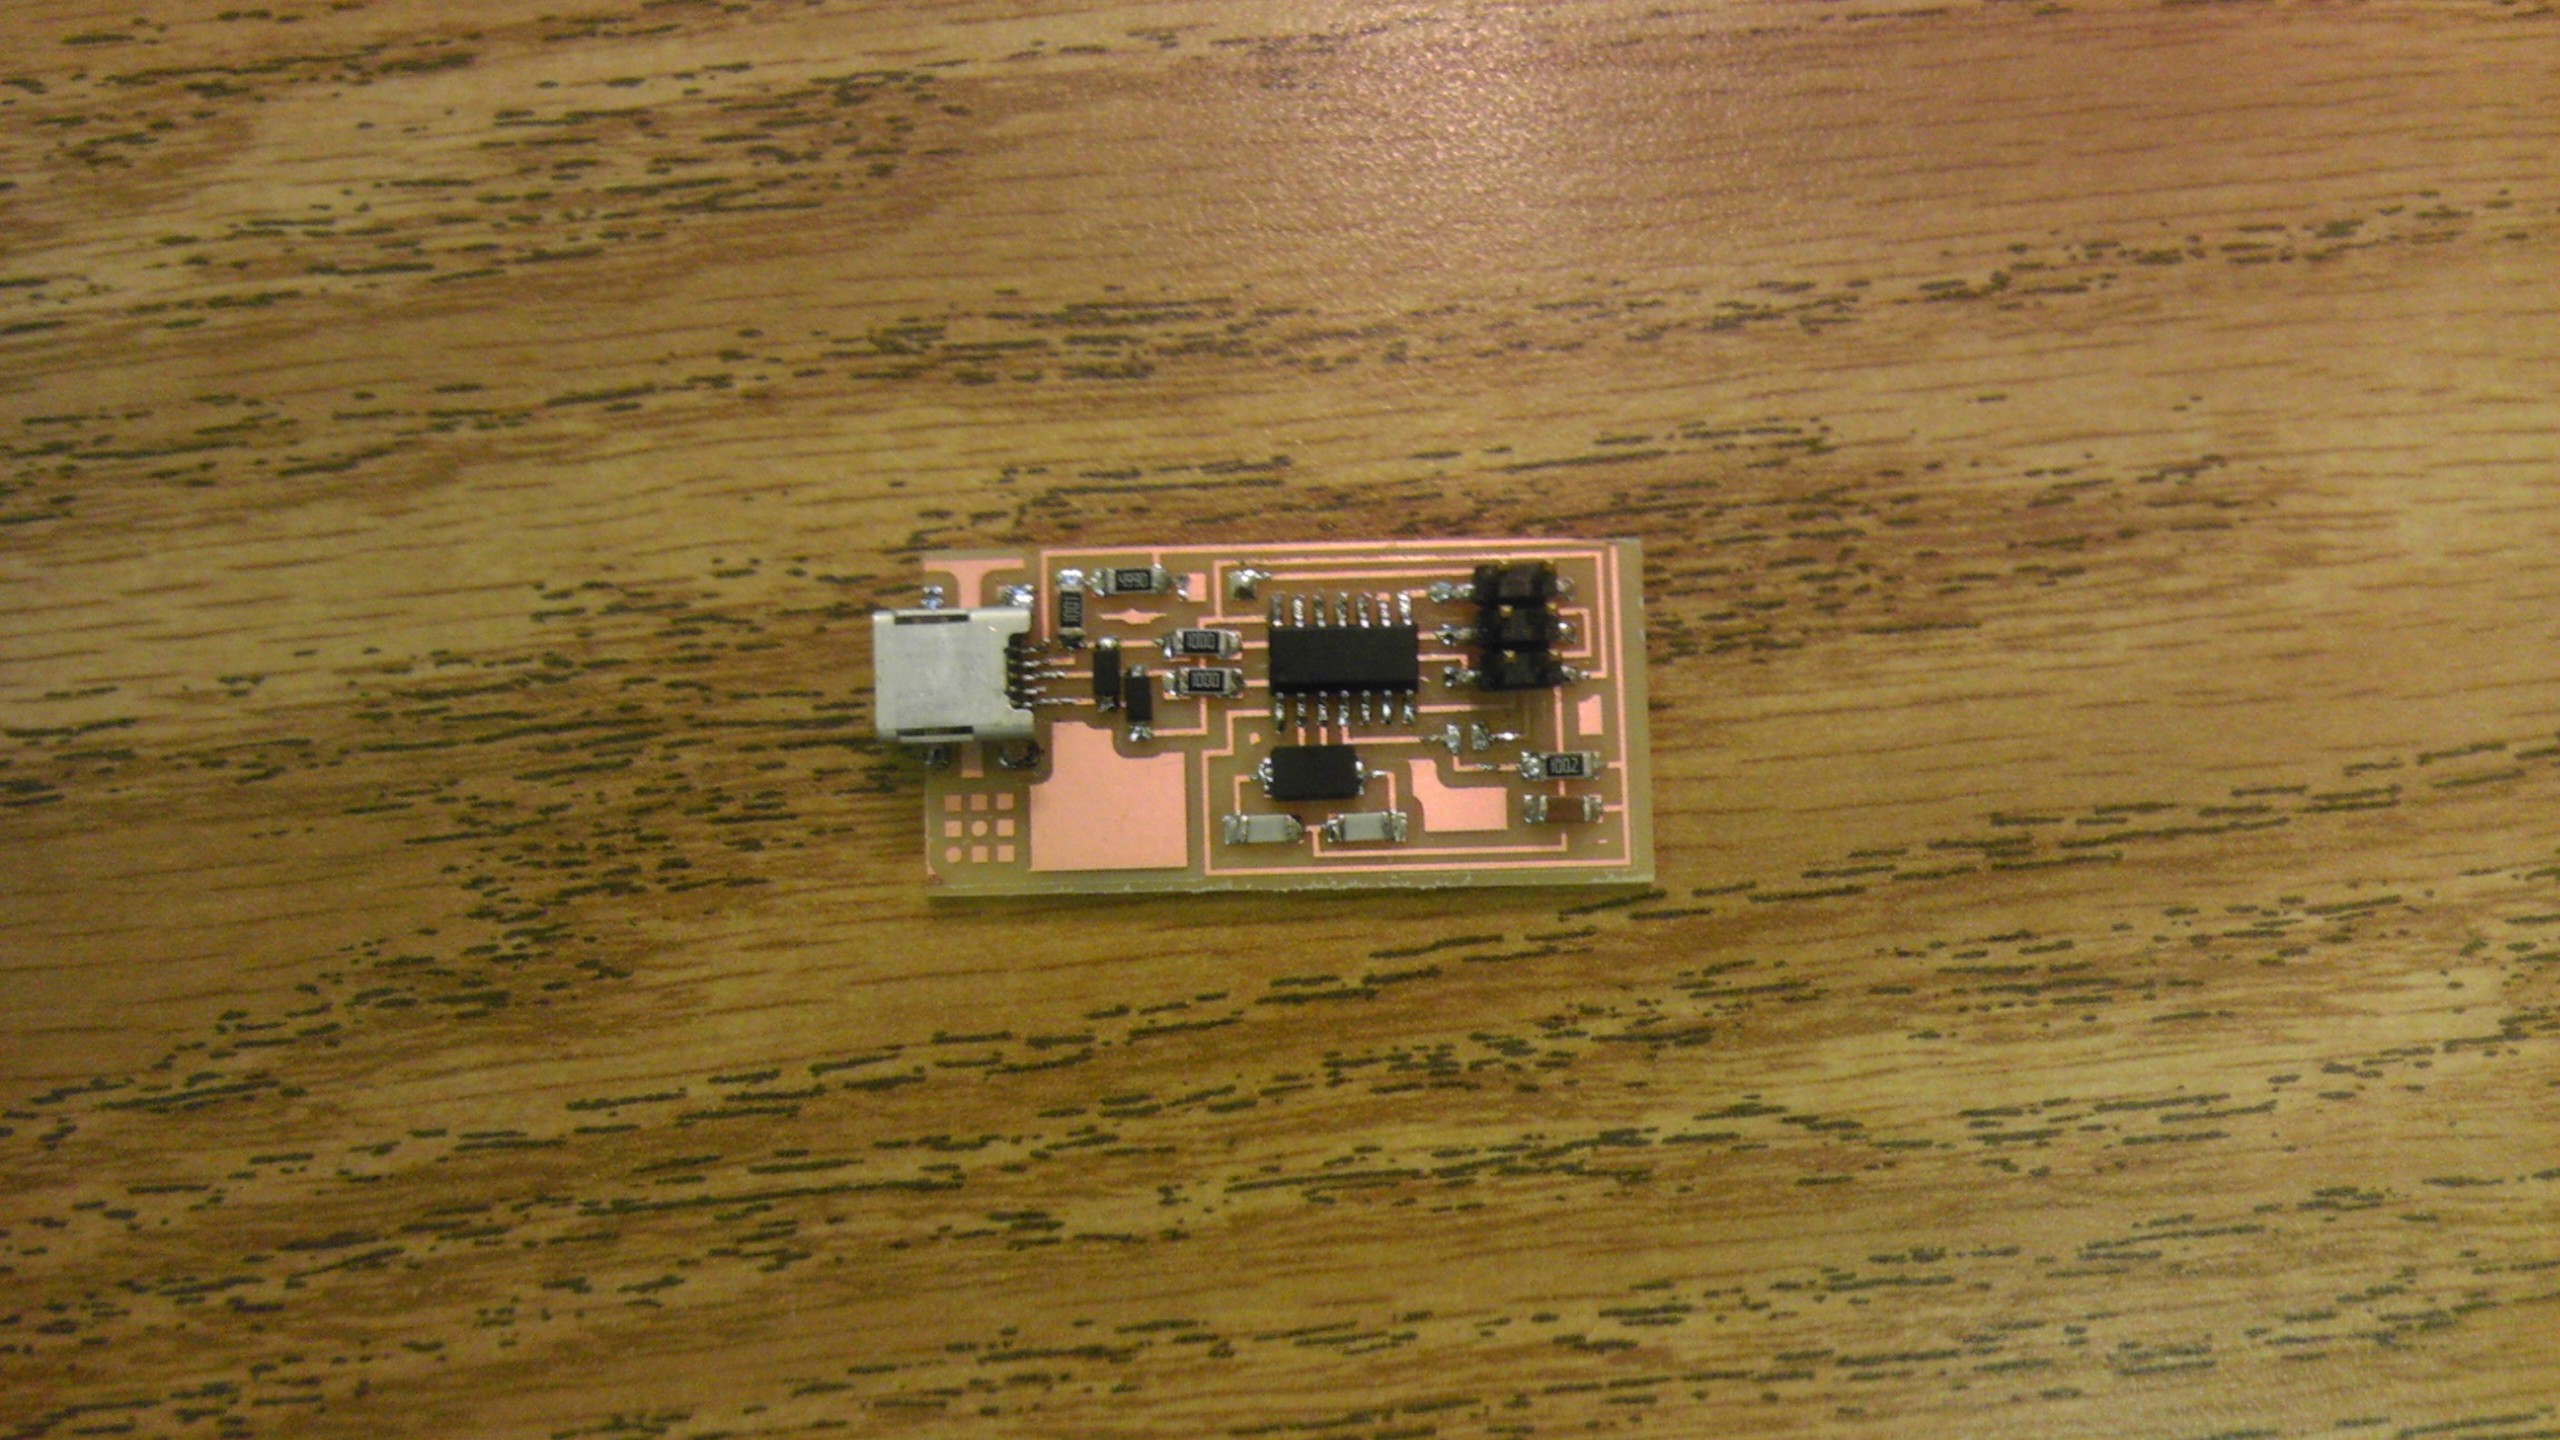
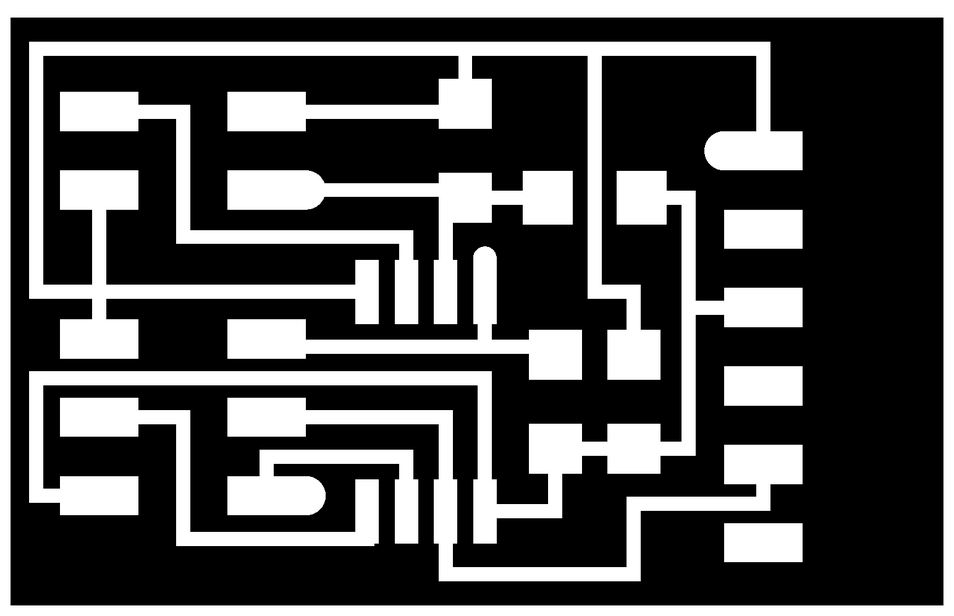
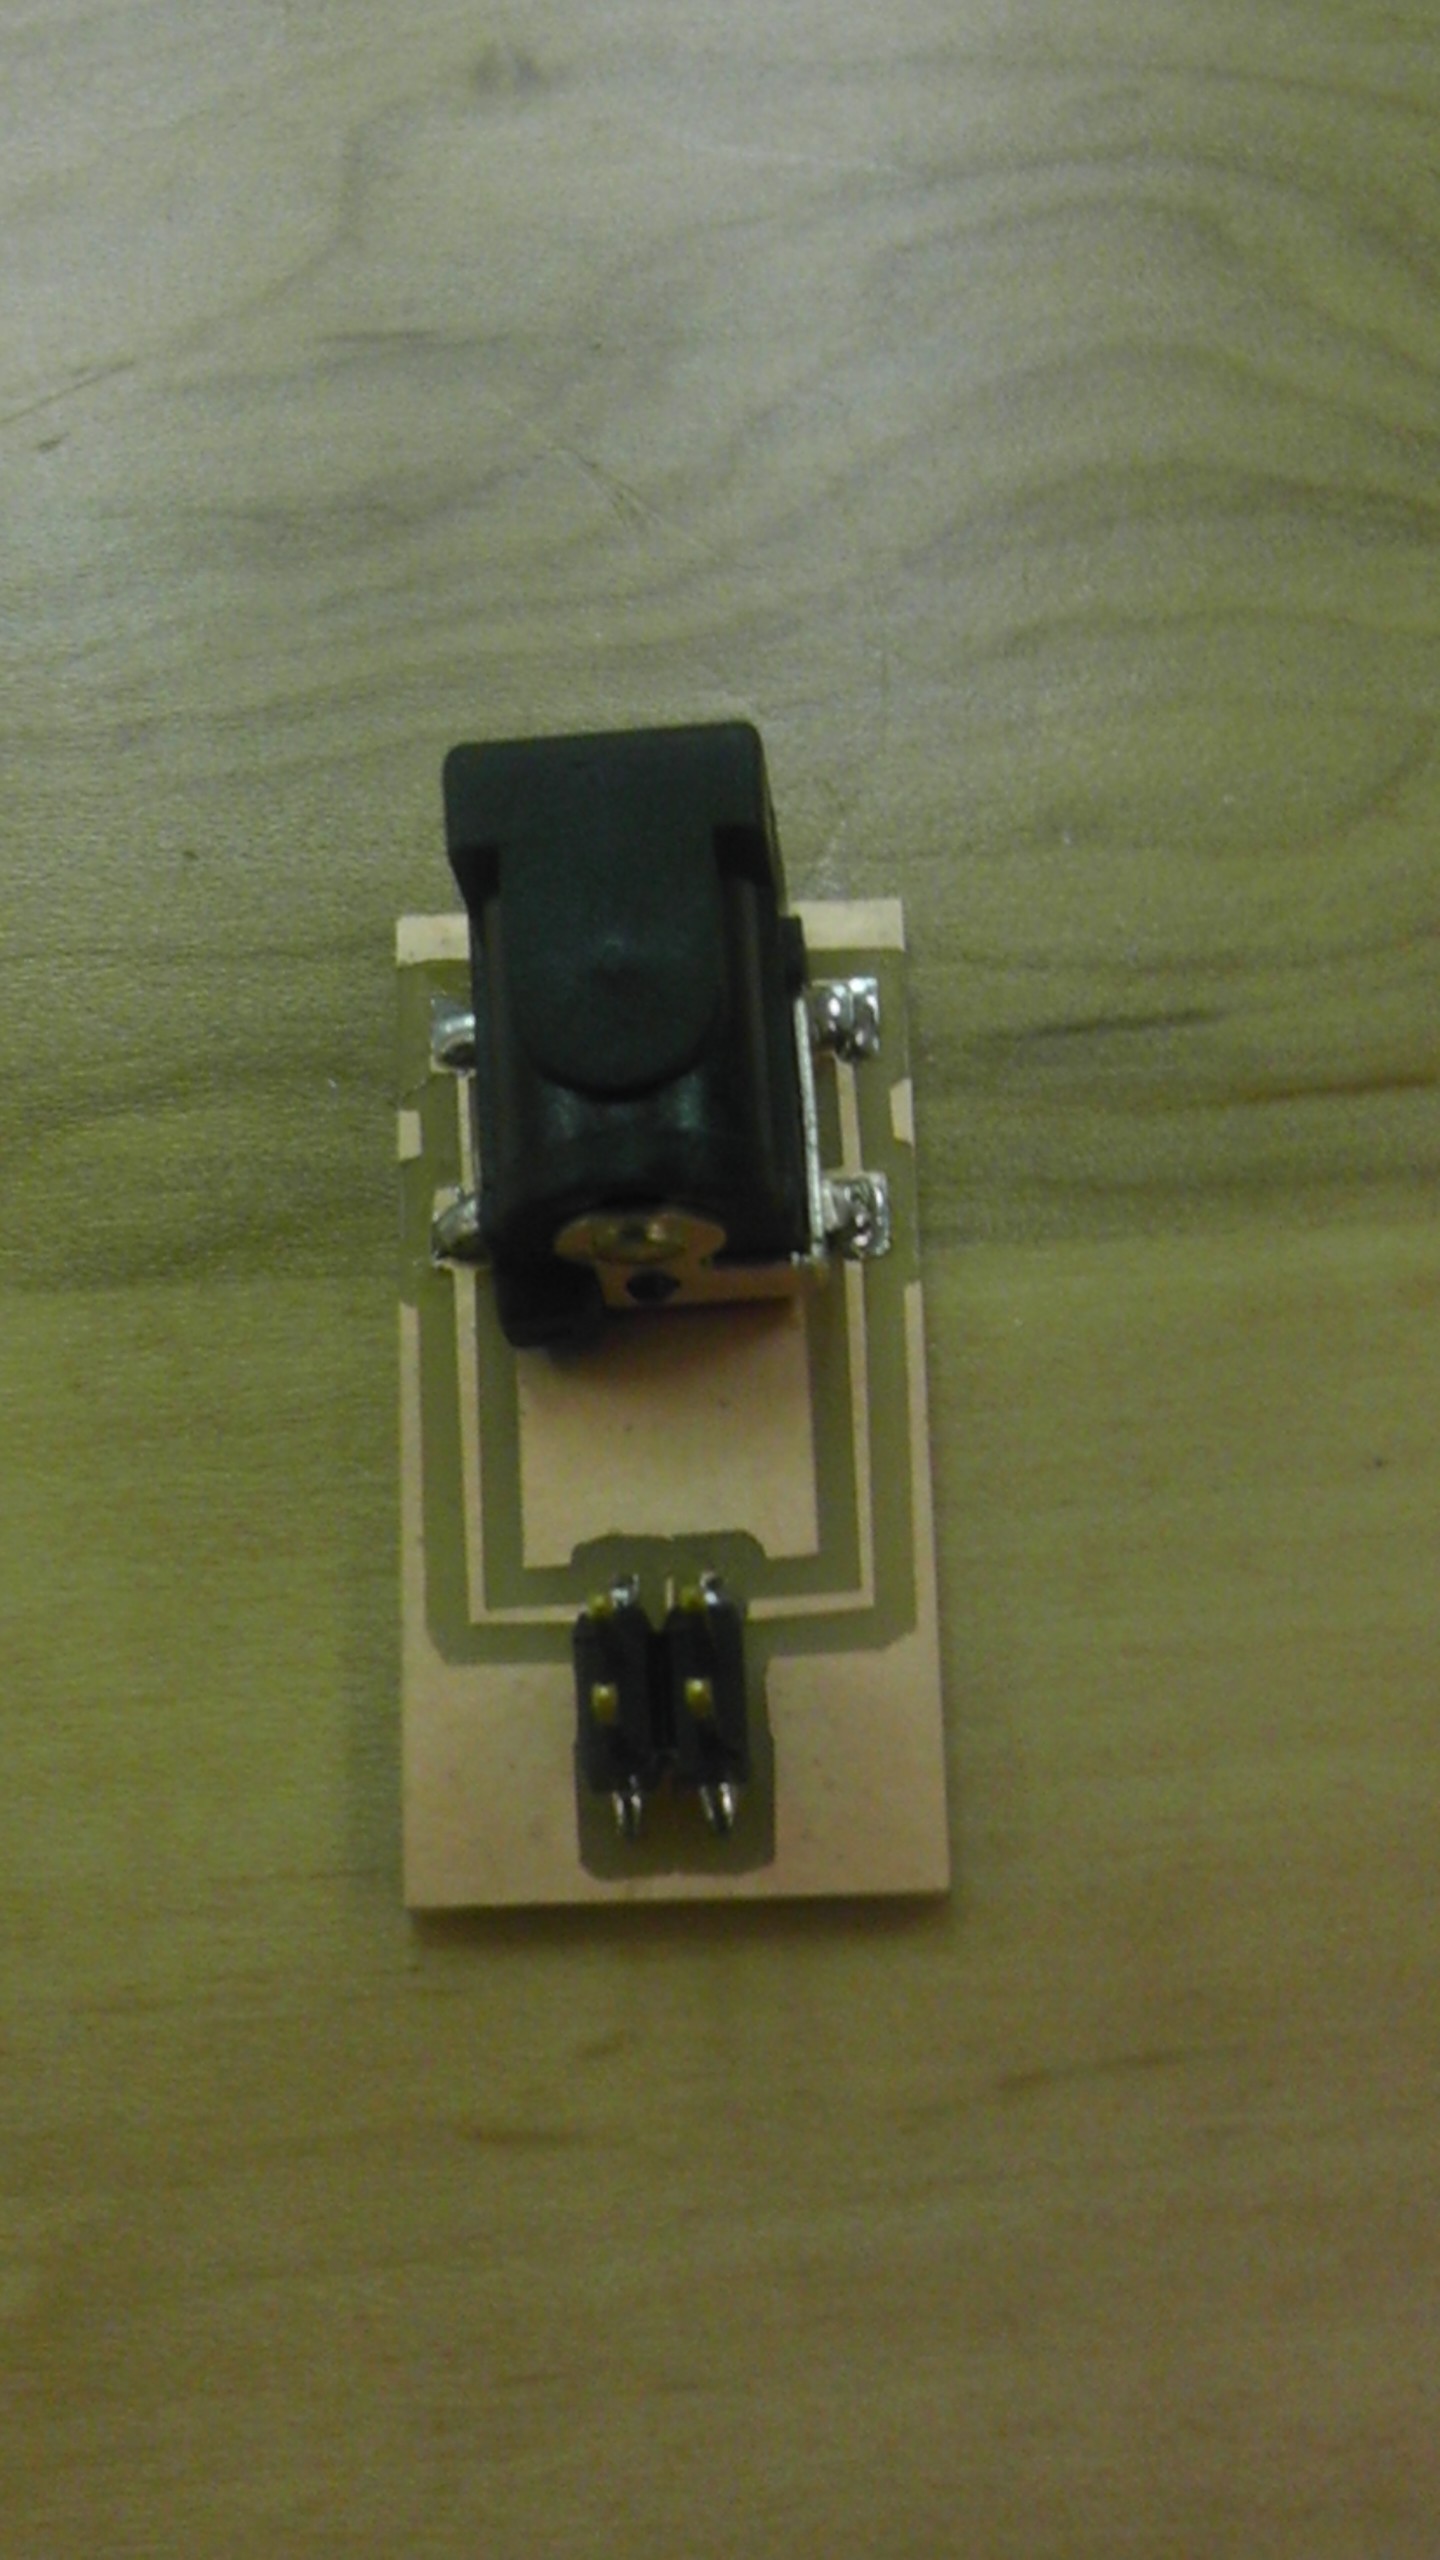
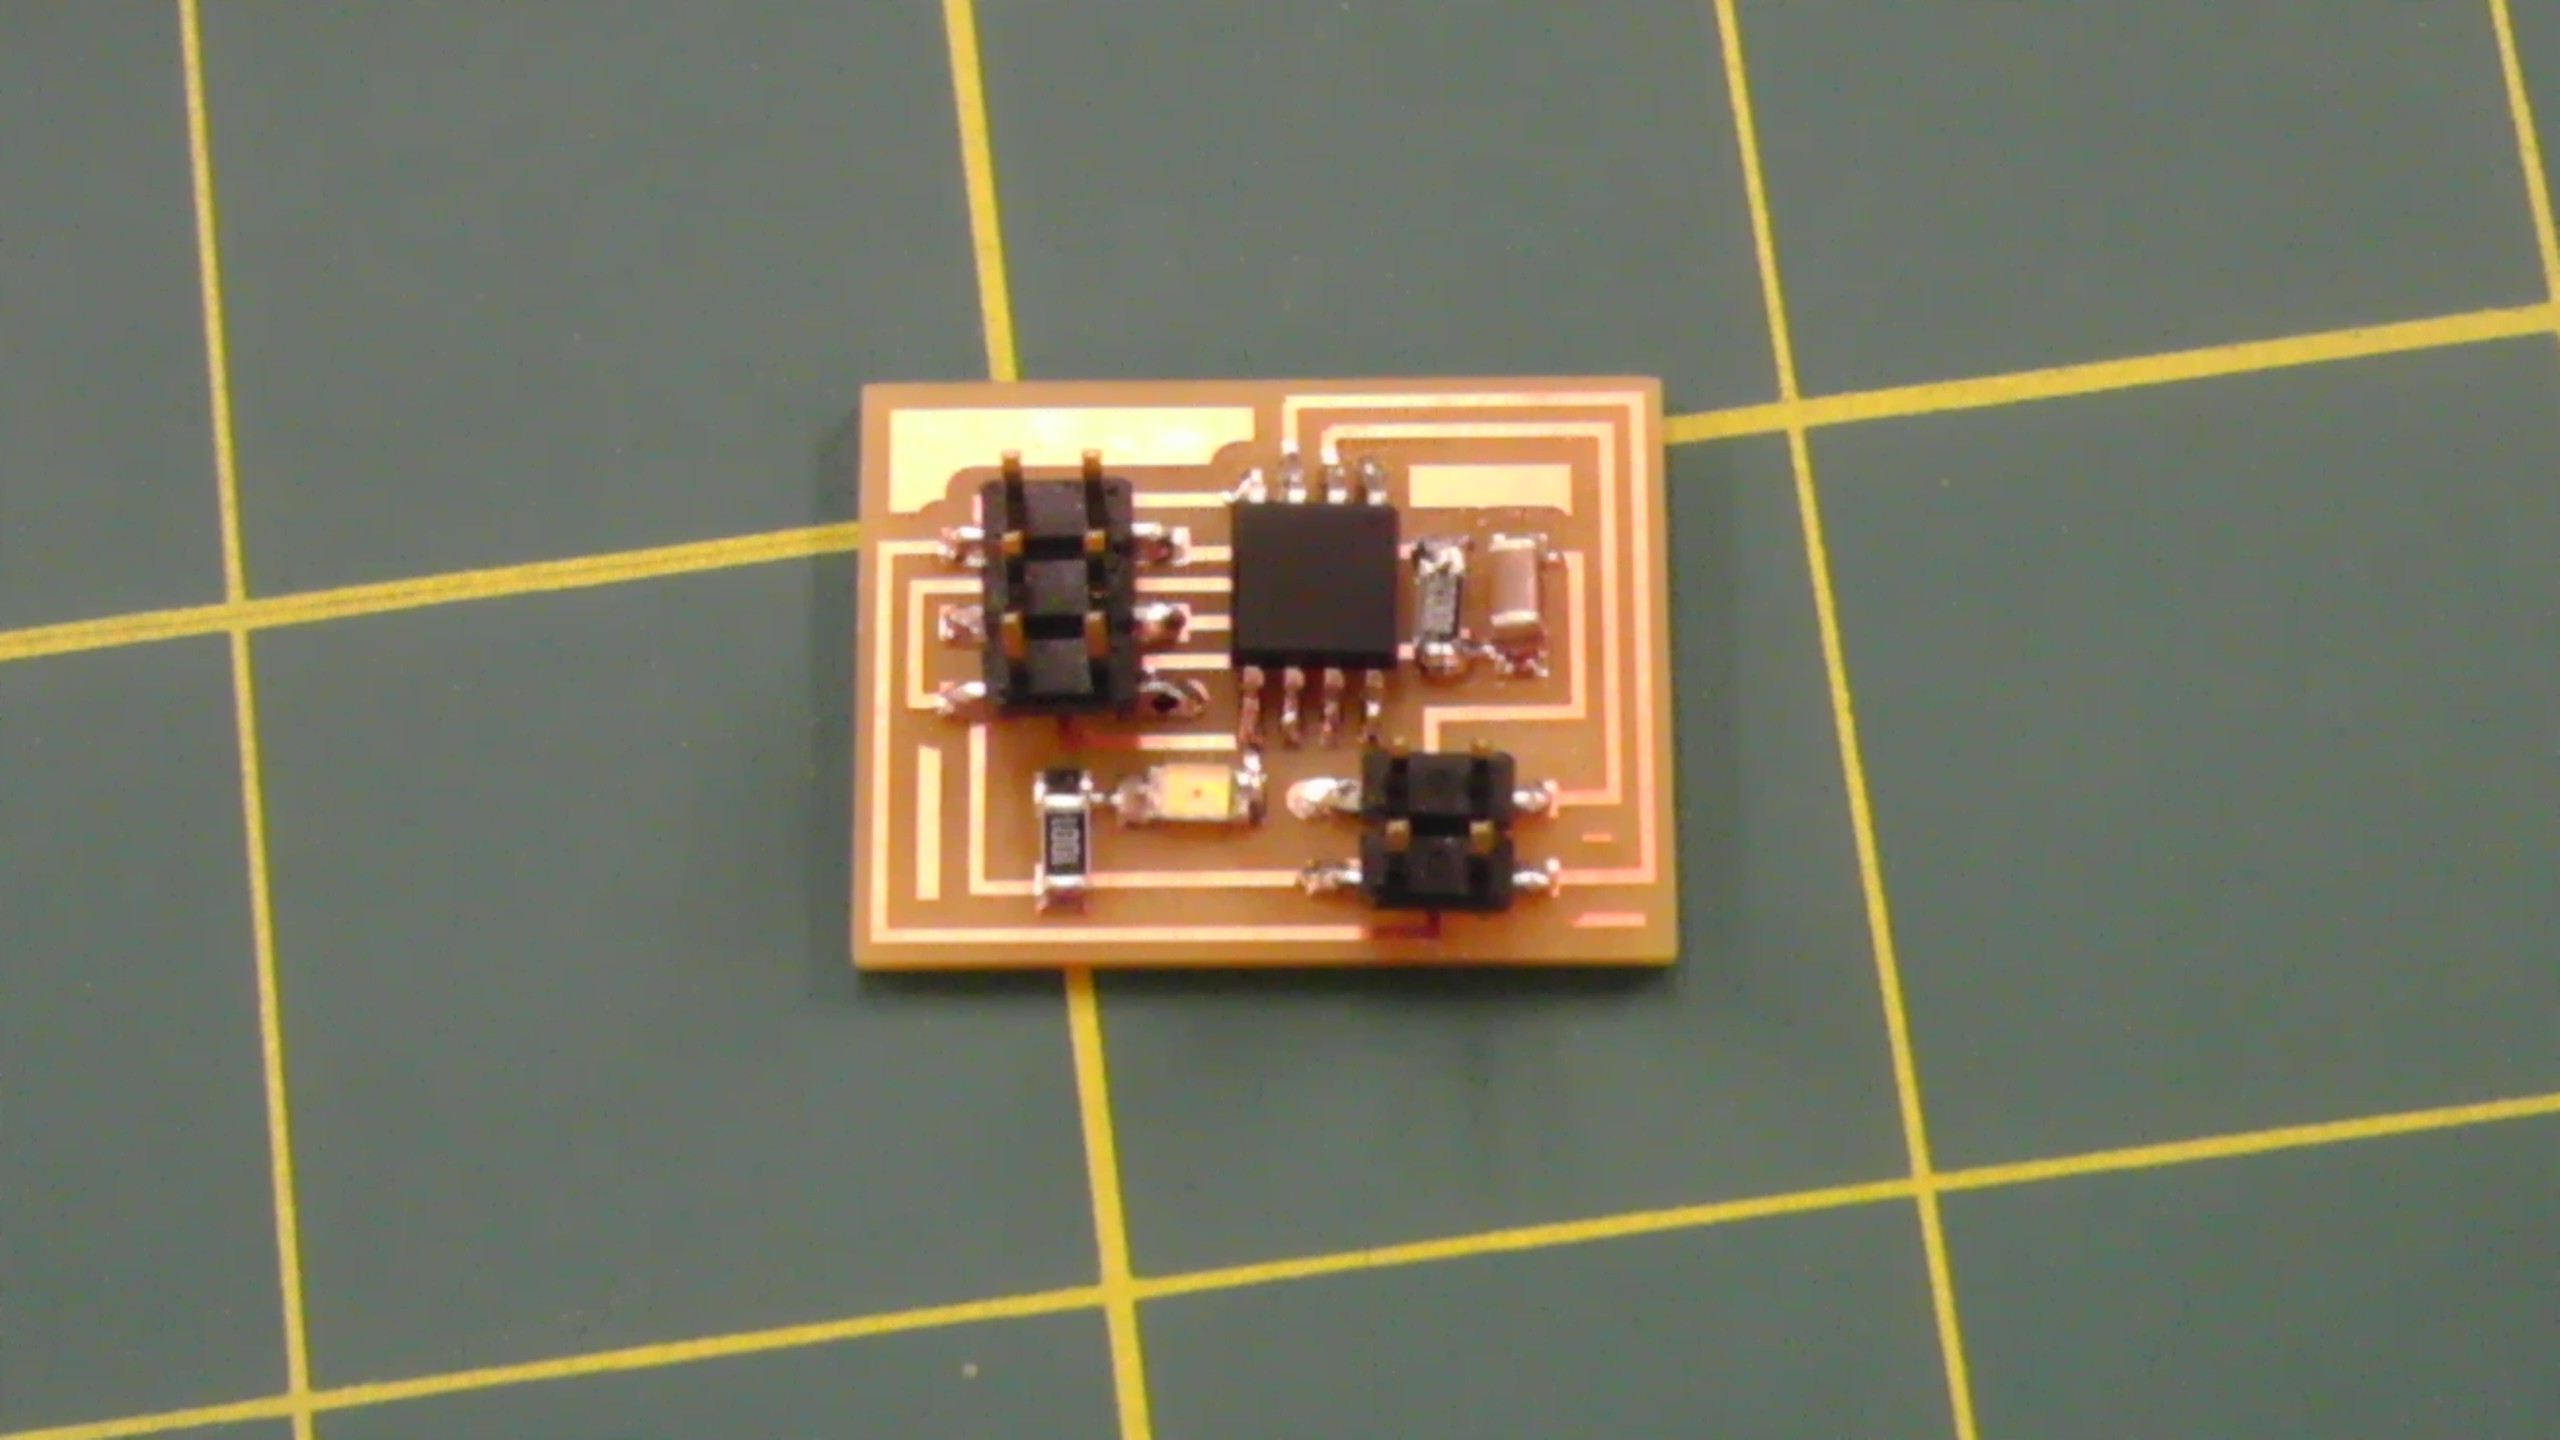
While connecting my boards to my computer, I realized my LED did not light up. I found out that there was a trace that should not have been connected with my 499 ohm resistor and a trace that ran under my LED. So I had to desolder my LED, remove the traces and rewire my resistor and LED so that they were still connected. Below is the upclose image of the reworked wire.

Once my boards were connected, I downloaded the ARDUINO Integrated Development Environment, the ATtiny 44A files and added them to the ARDUINO Library, and the FTDI Drivers. Once my software was downloaded, I made sure ARDUINO was configured to the 20 MHz resonator and the USBtiny ISP Programmer in order to burn the Bootloader. After successfully burning the bootloader, in order to be sure my microcontroller was programmed and that my switch and LED were working I decided to test one of the codes. I chose the program "Blink". The below image shows a trial trying to use the program "Blink" and it could not find my USBtiny device. After some investigation, I figured out that sometimes my computer does not connect with specific ports on my computer.

After finally finding and connecting my USBtiny device, I reuploaded the program "Blink" and my LED finally worked. Eventually, I programmed my board so that when I pressed the switch, my light would stay on. Below is the image showing my light working when the switch was pushed.